|
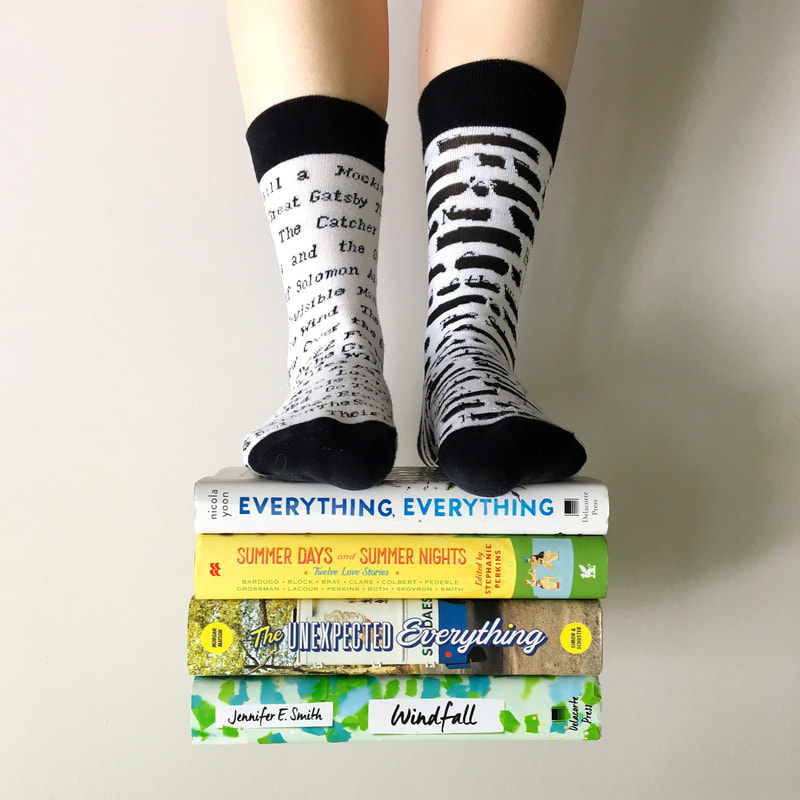
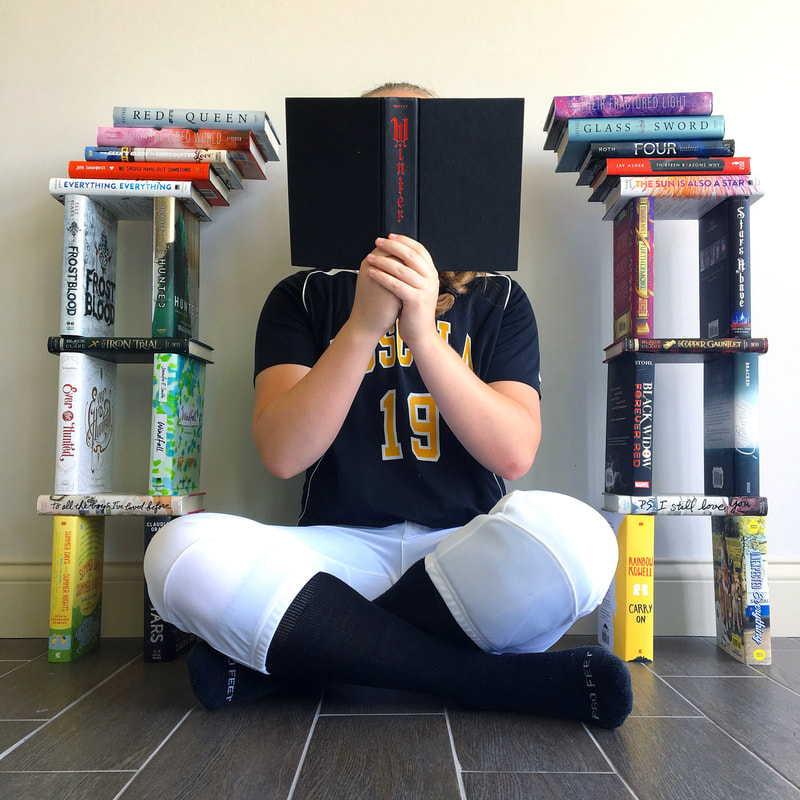
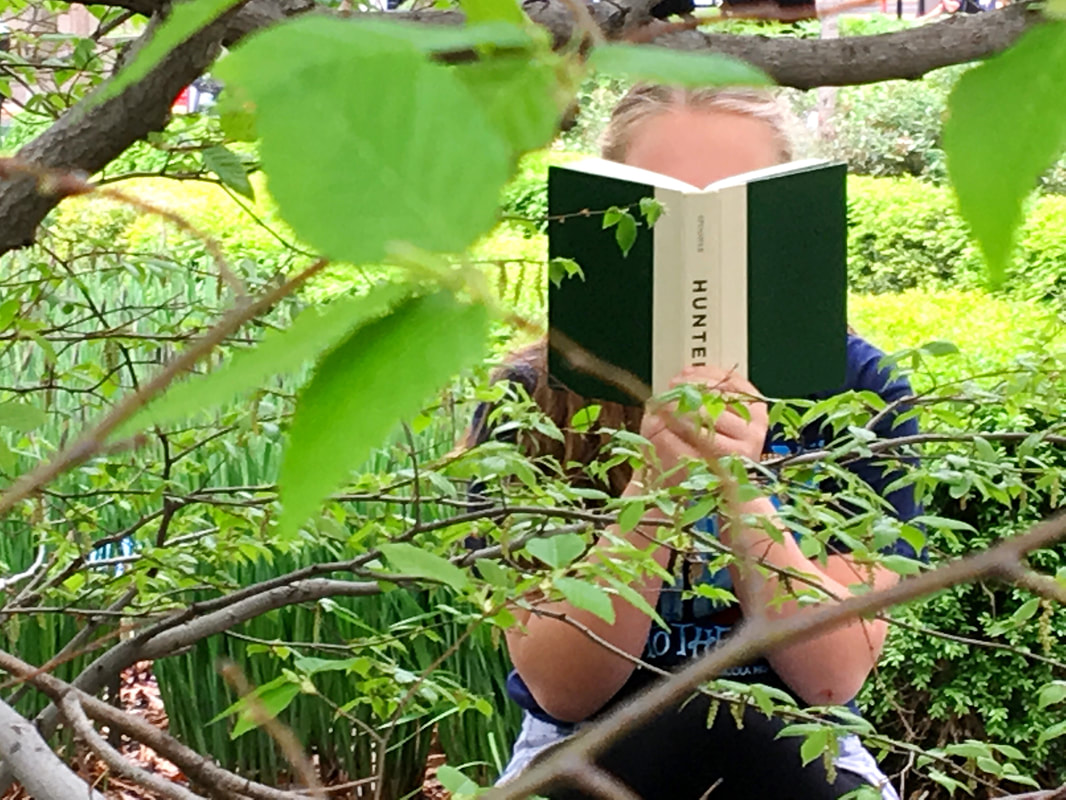
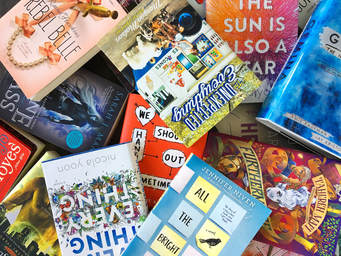
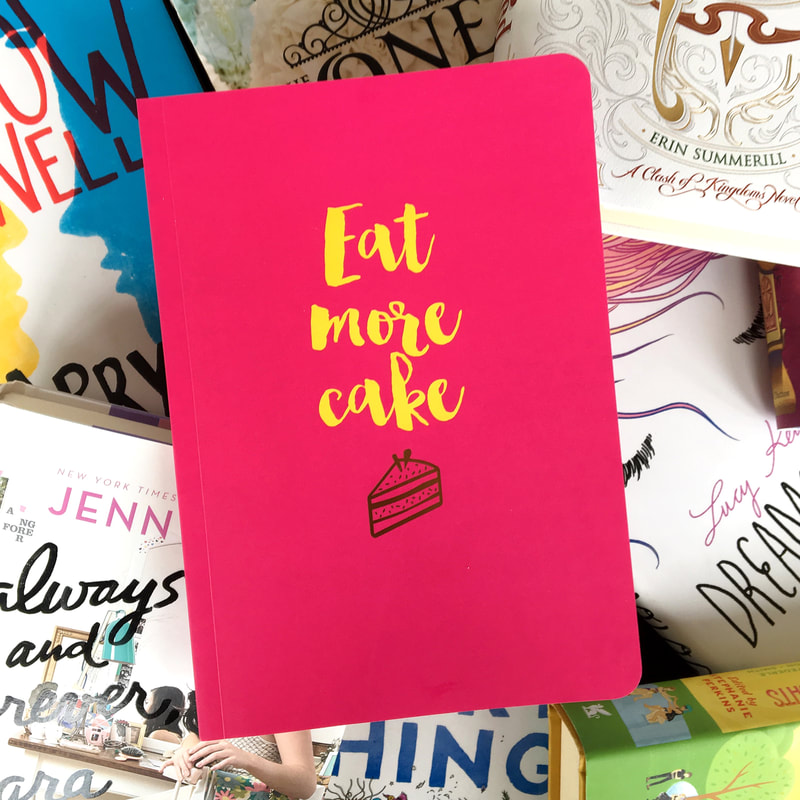
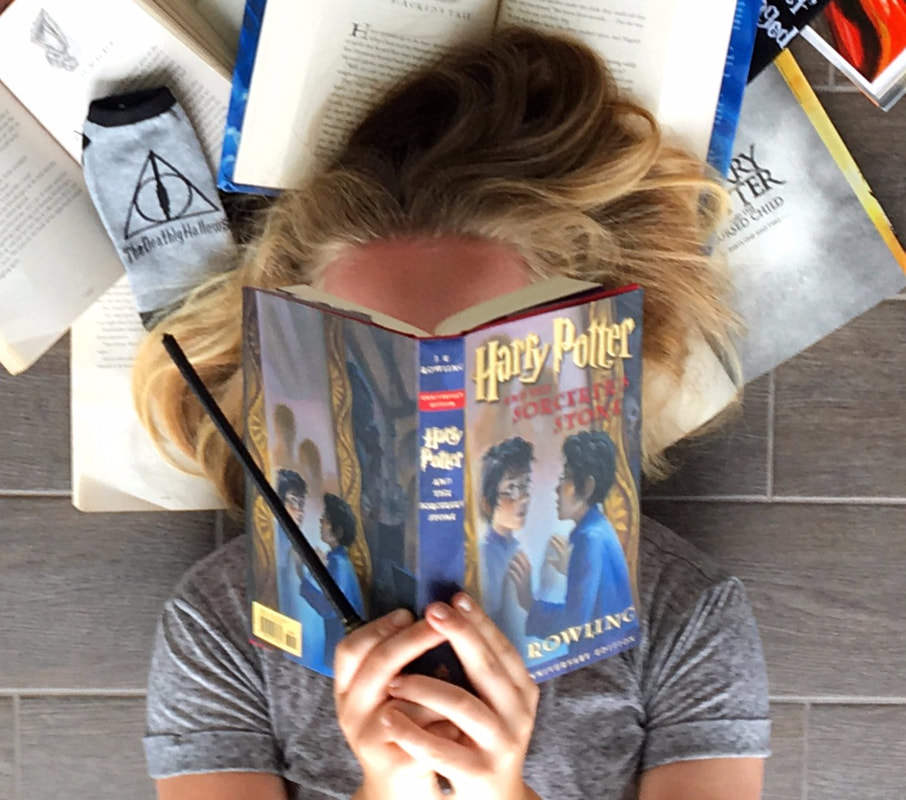
I absolutely LOVE the book community on Instagram. There are great books, great people, and most of all, great photos! If you are looking to start a bookstagram, or just wanting to post a picture of the book you're #currentlyreading, here are some tips on how to edit your pictures. Part 1: Taking Your Photos Now, before we start going to town, we need to prep for our bookstagram photo shoot. Make sure if you are taking your photos inside, you take them where there is a lot of natural light. I am fortunate enough to have a sun porch in my house that provides the perfect place to take my pictures, but you can take your pictures any place with lots of light. Windows, doors, and the hole in your roof are all perfect for natural light. You also want to make sure the background of your photo is in order. If you're taking your picture in your bedroom or in front of a bookshelf, make sure that everything behind the focus of the picture is pleasing as well. Nobody and I mean nobody wants to see your dirty laundry on the floor behind your current read. Tips for taking great photos:
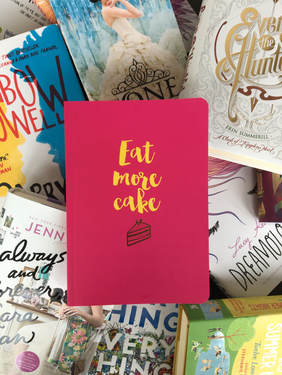
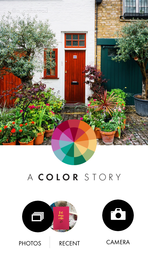
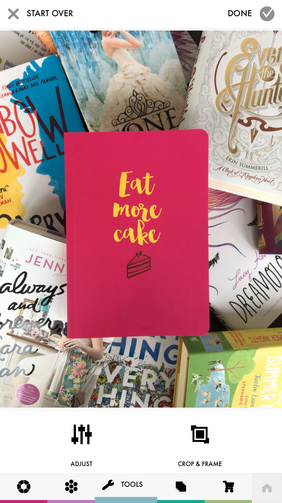
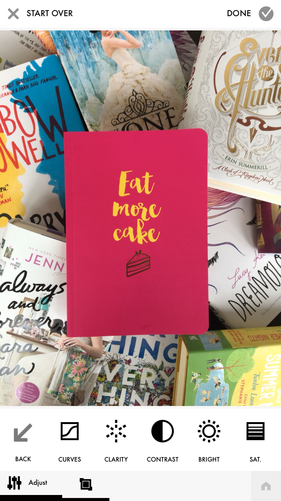
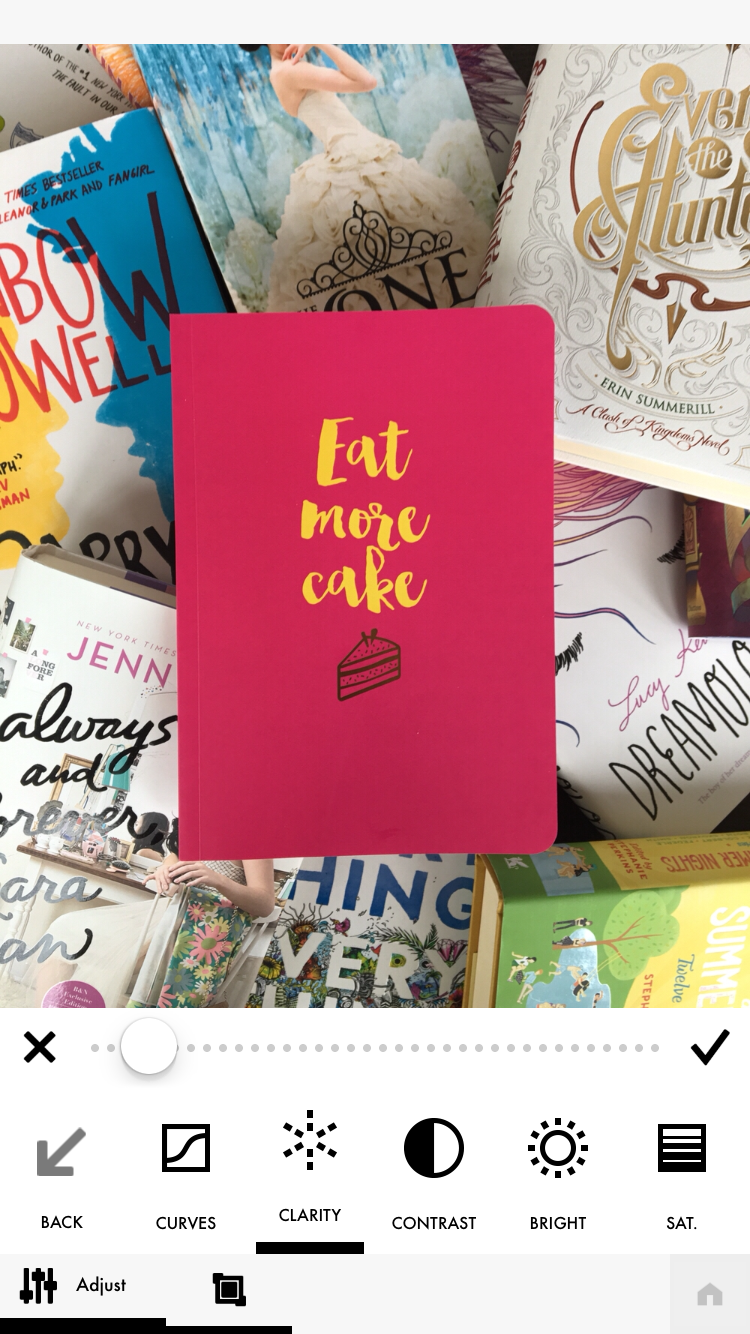
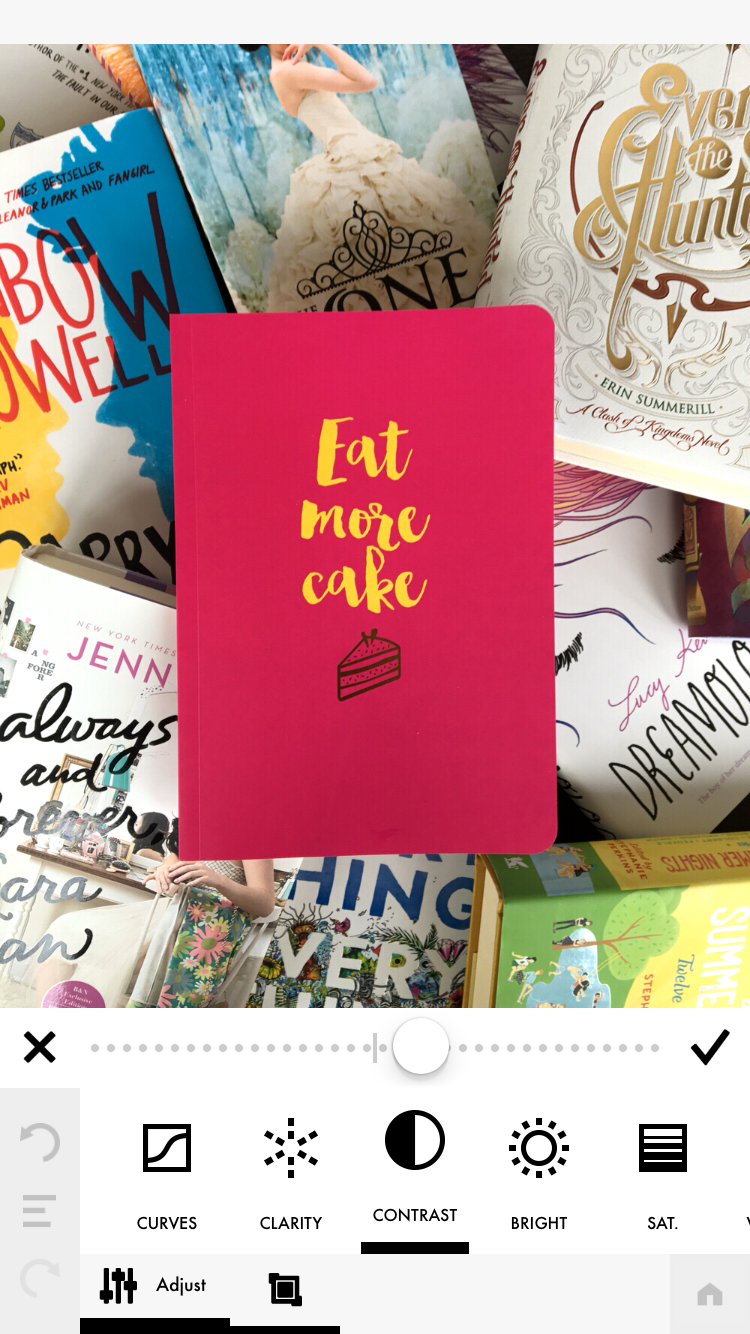
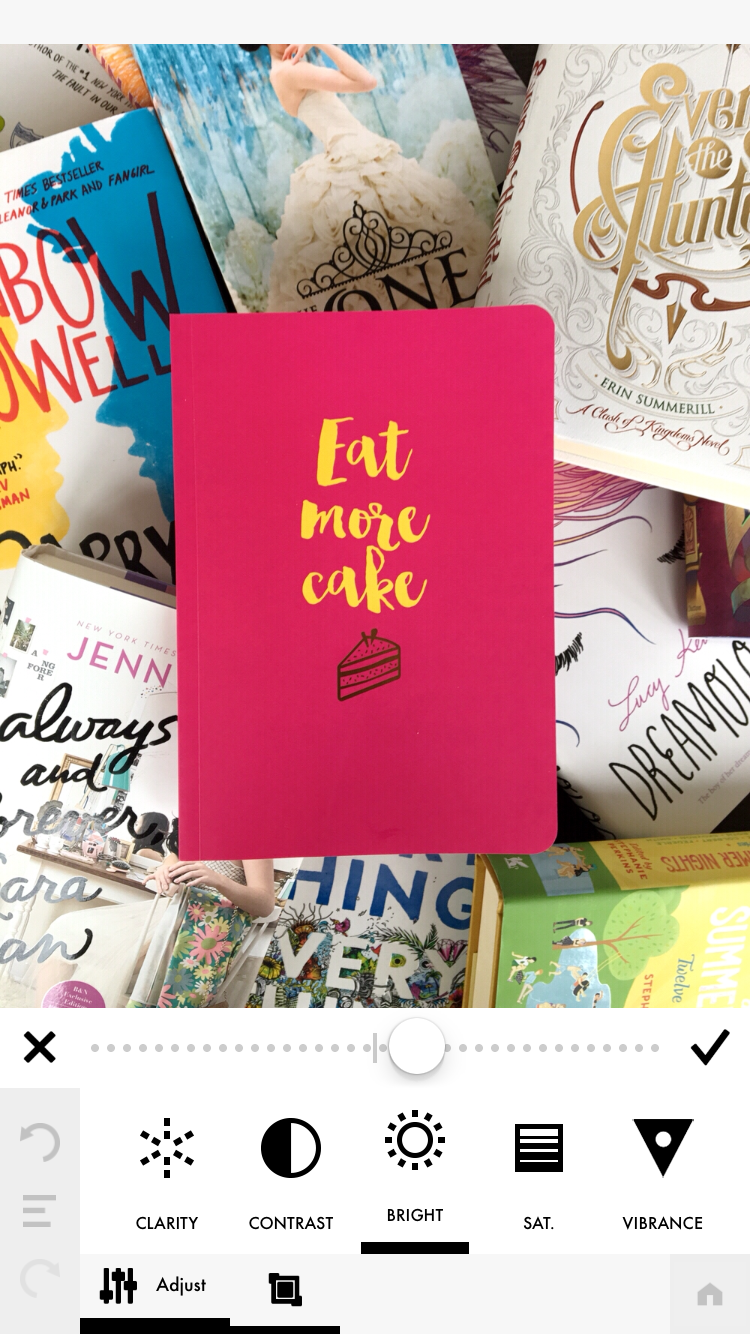
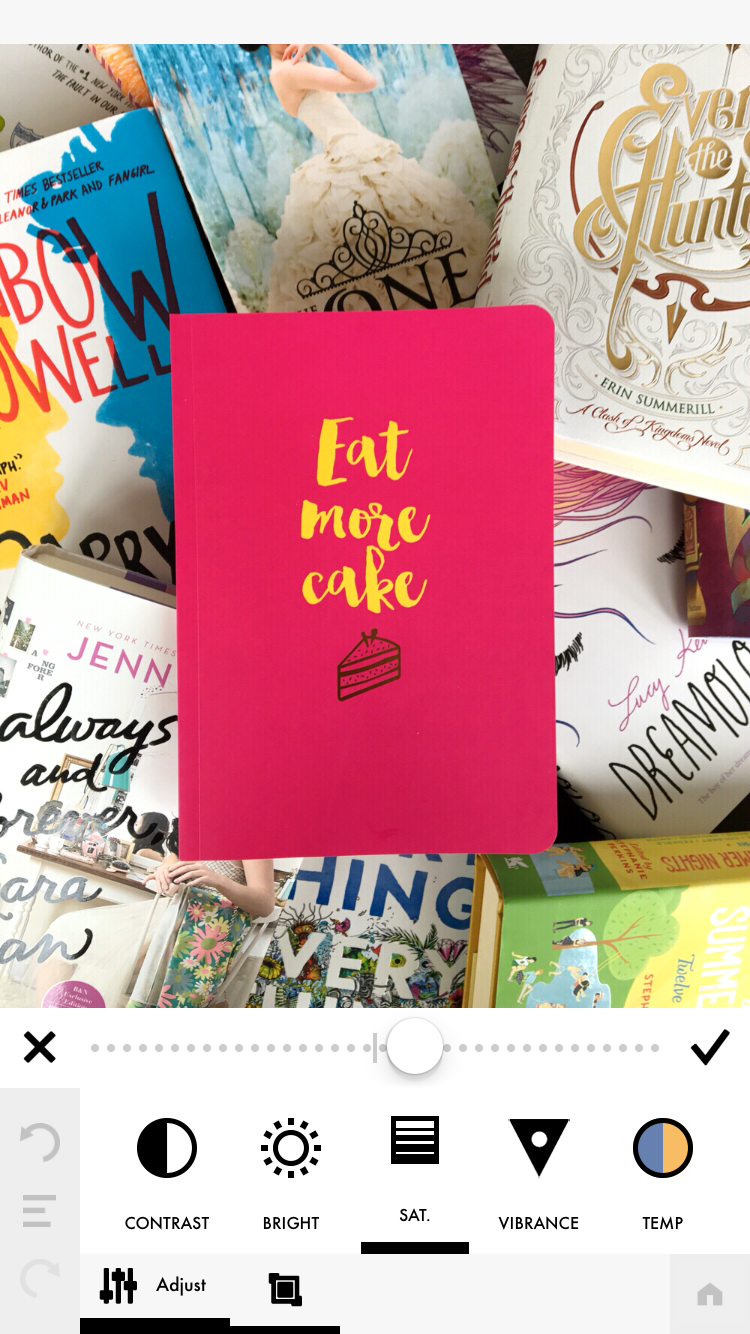
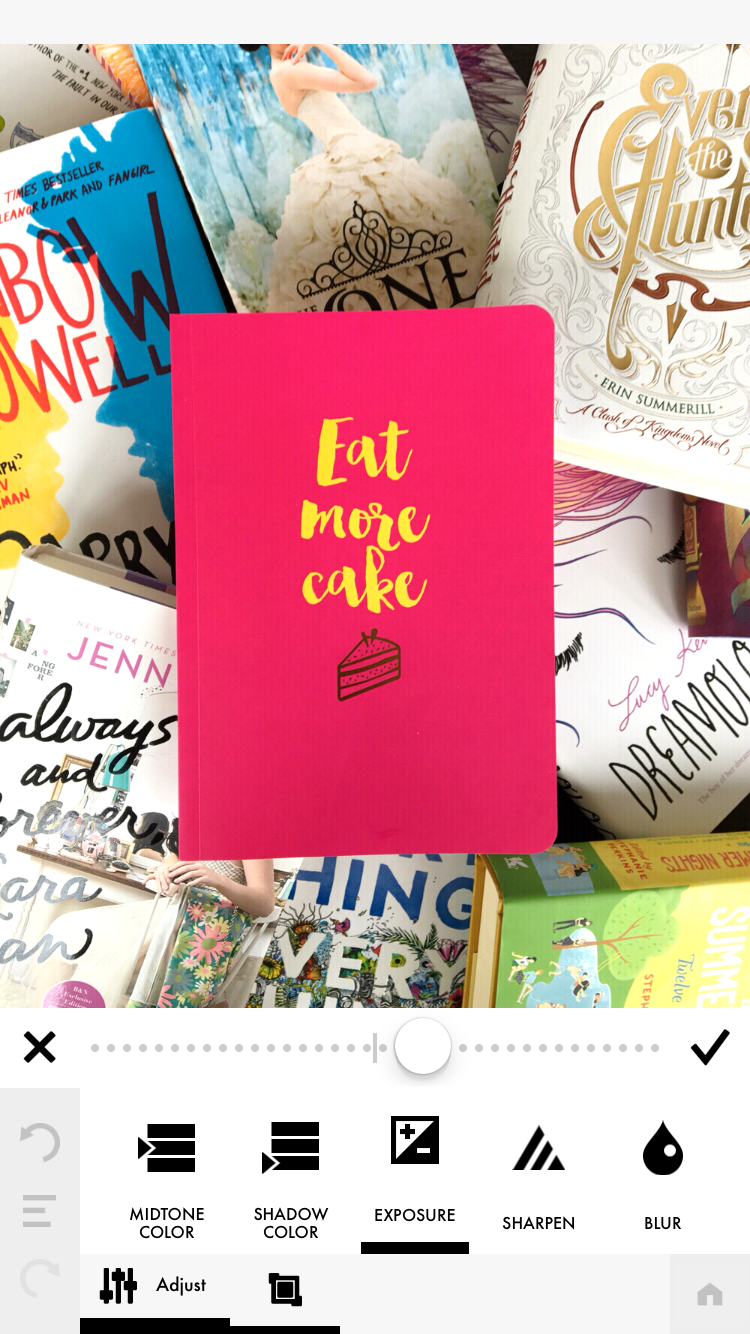
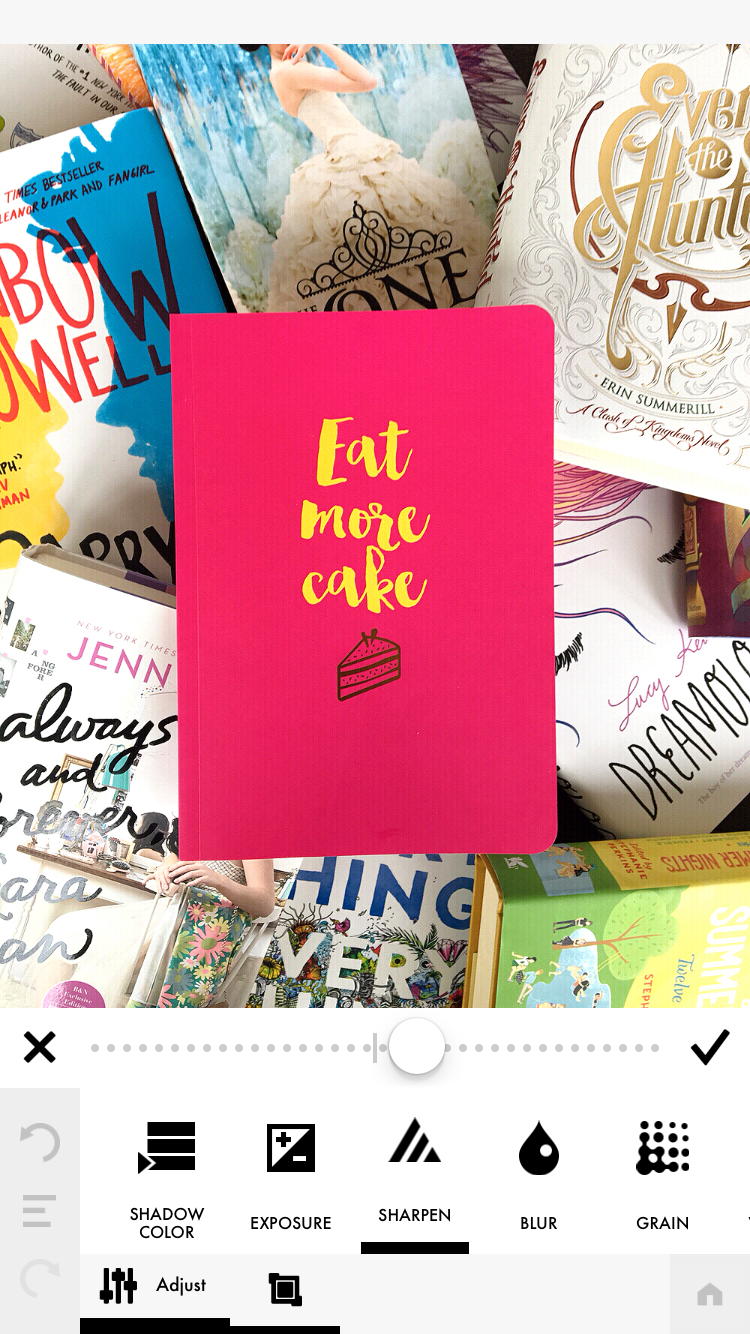
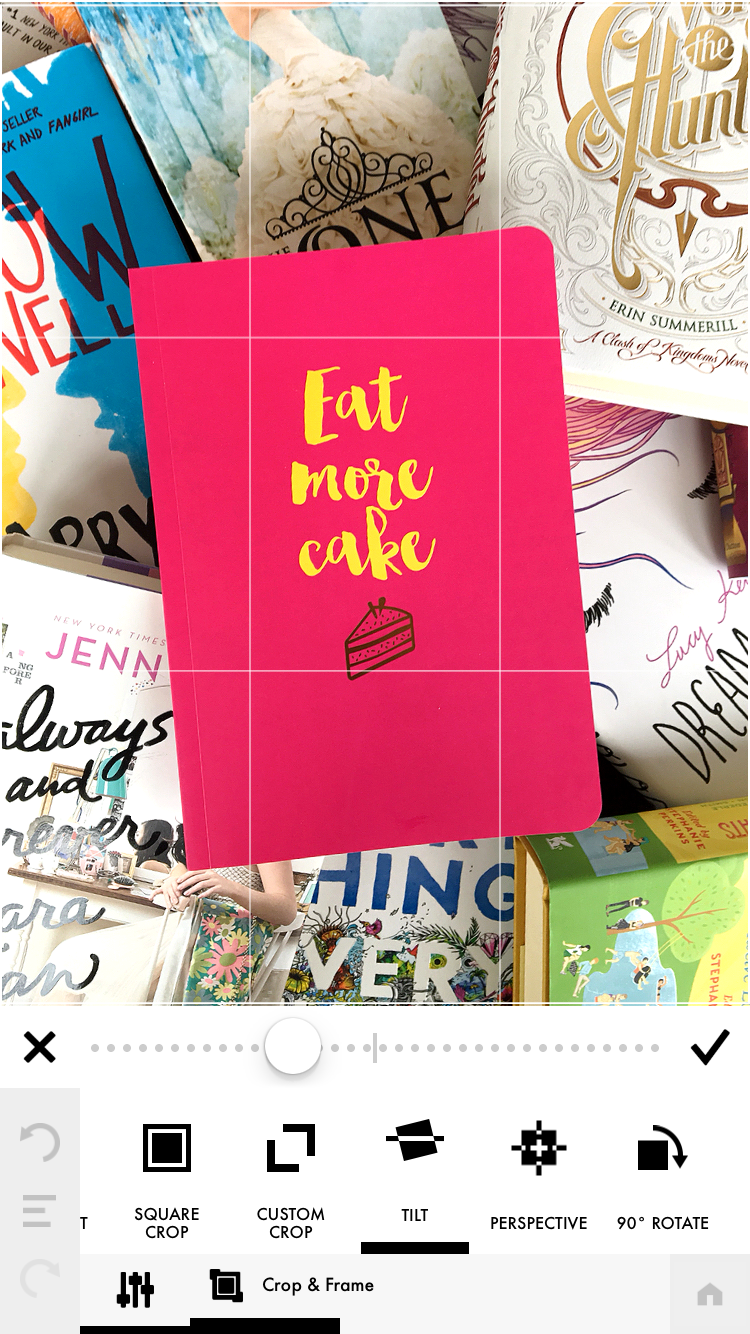
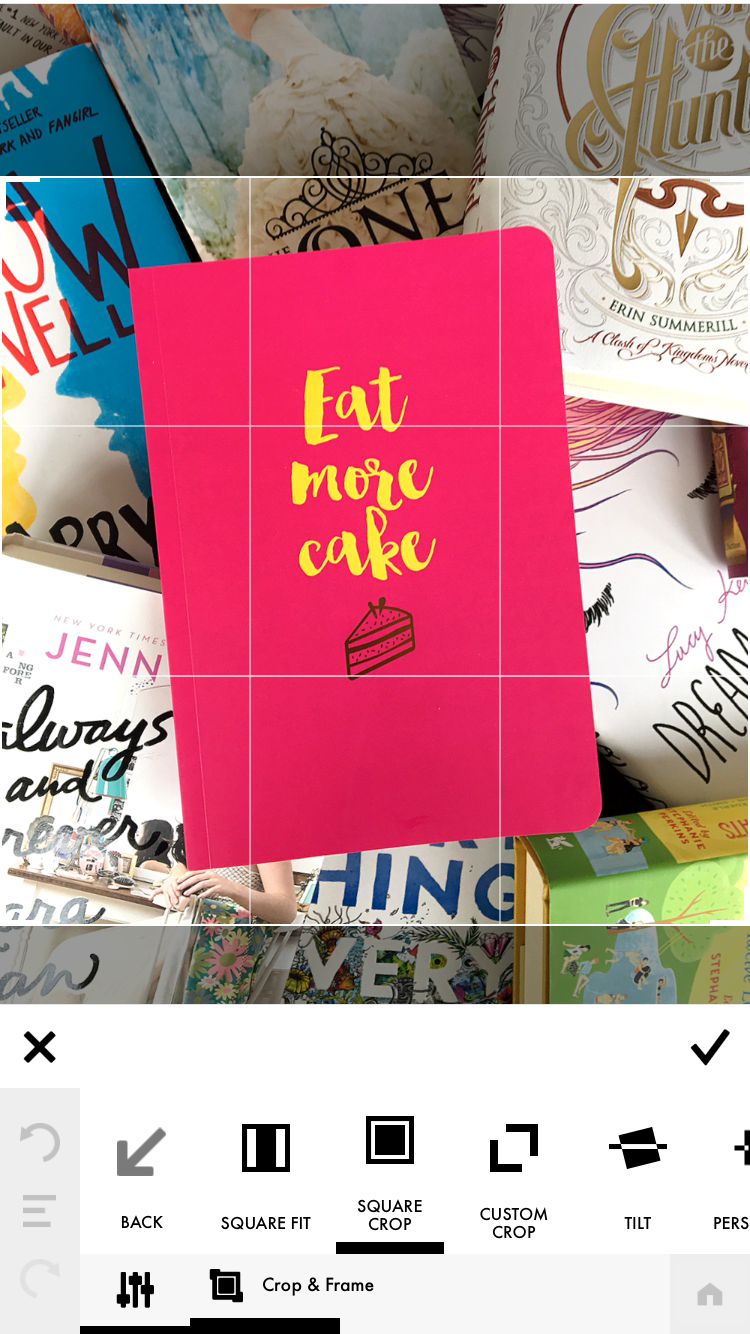
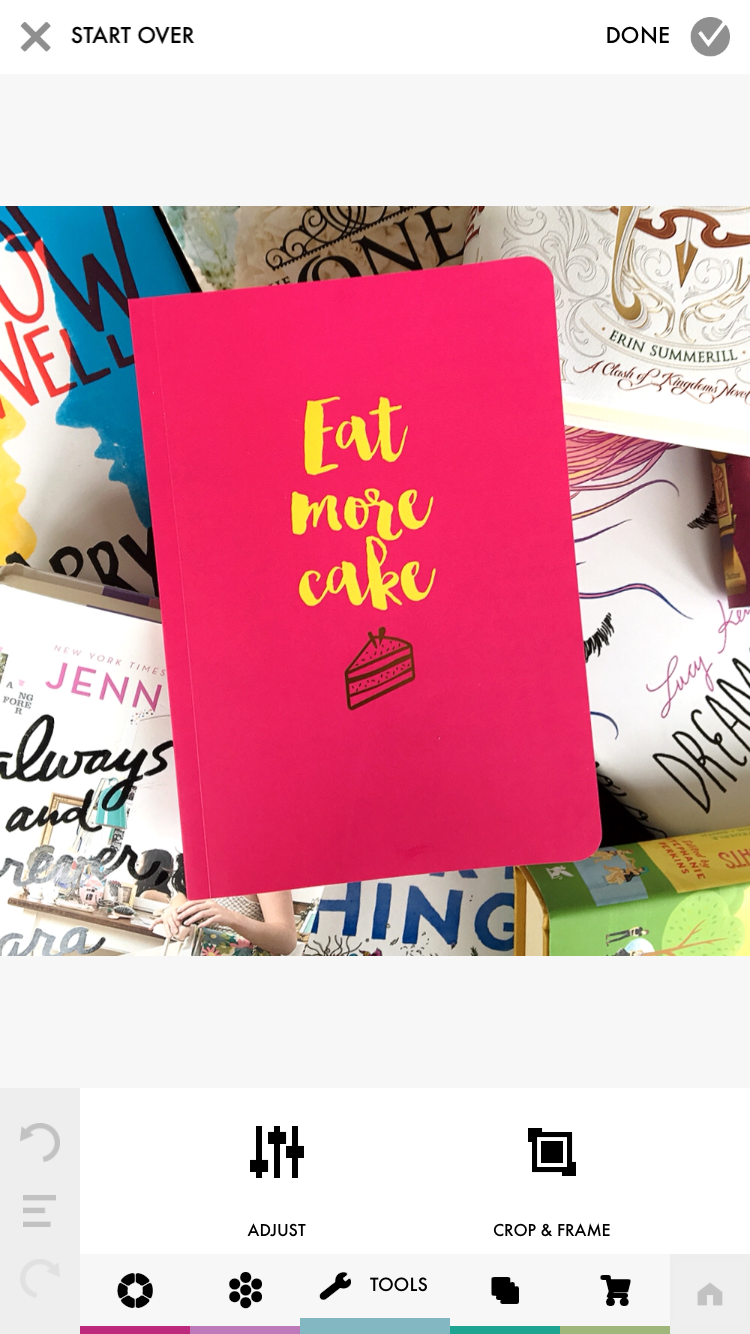
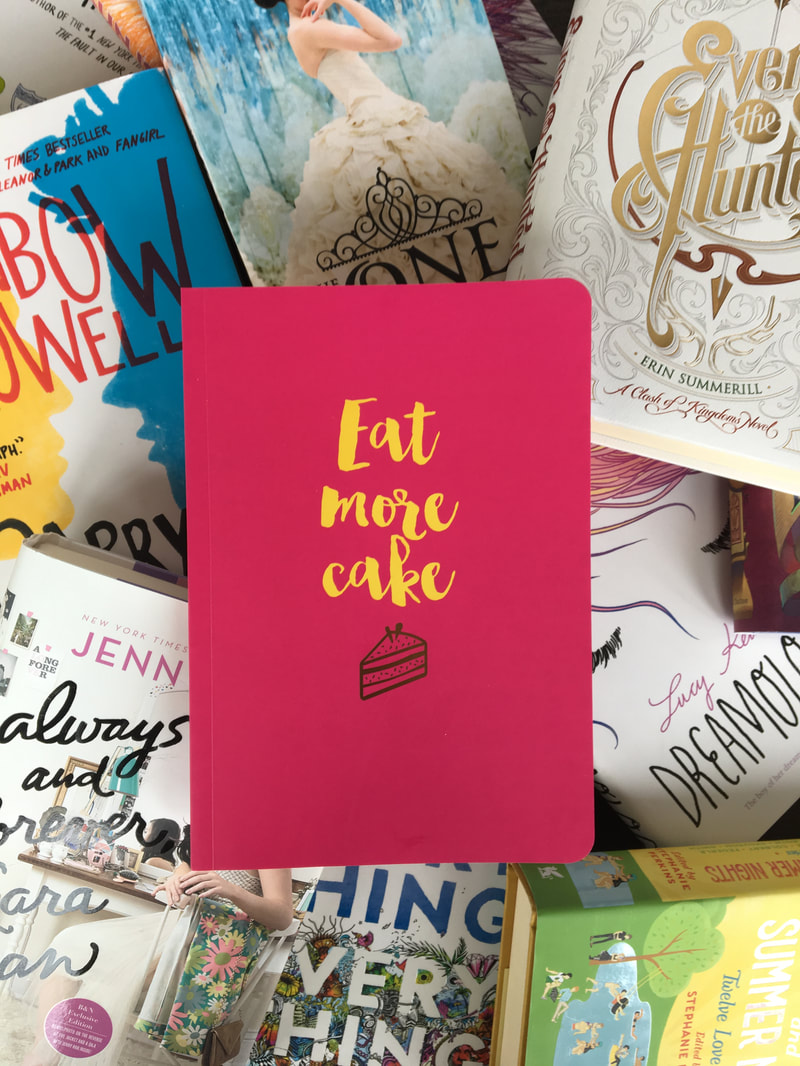
Part 2: Consider the Photo you are editing I'm going to show you the steps I use when I edit my pictures, but keep in mind that all photos are not equal. Your photos may start out a little darker or brighter than mine, or they might already be as sharp as possible, and that's okay! Just remember to use these steps as basic guidelines, not hard rules. It's all about playing around to find the perfect combination for your photos. Part 3: Editing Your Photos I use an app on my phone called Color Story, but just about any editing app that allows you to adjust the settings will work. I've also used PicMonkey and the Apple Photos app in the past. 1) Take your photo and open it up in your editing app. 2) Go to the tab where you can adjust the settings of the picture. 3) Next, turn up 'Clarity', 'Contrast', and 'Brightness'. Remember, a little goes a long way. Clarity will make your photo a little crisper, while contrast and brightness will brighten up the pictures. 4) I will then scroll over and turn up 'Saturation', 'Exposure', and 'Sharpen'. Saturation and vibrancy both help the colors in your pictures to pop. I only used saturation on this particular photo because vibrancy makes reds and pinks super bright and it didn't look good with my journal. Exposure brightens up your photo, and sharpen makes it extra crunchy. *Bonus Tip: If you go to the 'Saved' tab and save the steps you just did as a filter, you won't have to the all the steps leading up to here ever again. This works great if you take your photos in the same location and the lighting stays about the same. Then, in the future, you will only have to crop your photos. #timesaver 5) Now, go back to the 'Tools' tab and tap on 'Crop & Frame'. Here we're going to work with 'Tilt' to angle the photo just right and 'Crop' to get rid of unnecessary edges. I also like to work with 'Perspective' when I'm dealing with flat lays if I find that my phone wasn't level with the floor when I took the photo. Part 4: Admire Your Masterpiece CONGRATULATIONS! You have received your (unofficial) Book Insider Certificate in Bookstagram Editing! Go out there and start taking pictures of all the books! How do you edit your bookstagram photos? Let me know in the comments and also mention what types of blog posts you would like to see me do next! From behind her camera, Ashton You don't make a photograph just with a camera. You bring to the act of photography all the pictures you have seen, the books you have read, the music you have heard, the people you have loved. — Ansel Adams
0 Comments
Leave a Reply. |
AuthorAshton is a high school girl with a passion for books. She also participates in other activities such as sports and musical groups. Categories
All
Archives
October 2019
|
 RSS Feed
